iOS App Certificates and Distribution
Jun 14, 2016 00:00 · 1752 words · 9 minutes read
Well, it is not a rocket science to create certificates and distribute the app to the testers/users, but if you are doing it for the first time you may have to google about the process. Often the developers get frustrated with Apple’s security scheme to distribute the app, but trust me that’s the prime reason why Apple’s App Store has many trusted apps over Android’s Play Store. Though there are many Stack Overflow links out there which helps you to finish this setup but I want to summarize and give a brief idea of everything related to the process of creating certificates, generating builds and uploading it to the App Store. I will divide the article into three sections, One, Development/Distribution Certificates, Two, Sharing builds through TestFlight, Three, Uploading it to App Store.
Creating Development/Distribution Certificates
First of all, we have to understand Apple’s terminology to identify its users, apps and devices authentication. There are three things that Apple attributes to an iOS app, identifier of the app, cryptographically certificated entity (certificates) and its devices (provisioning profiles).
Identifier:
Identifier is a unique identifier of your app, known as bundle identifier. Which is also referred as Application Identifier because it is used to identify your application in App Store. Typically it has a reverse domain nomenclature e.g: com.companyname.appname. Let’s create this identifier in our developer account. Under the section of App ID’s we can create the application identifiers and explicitly mention the services it offers.
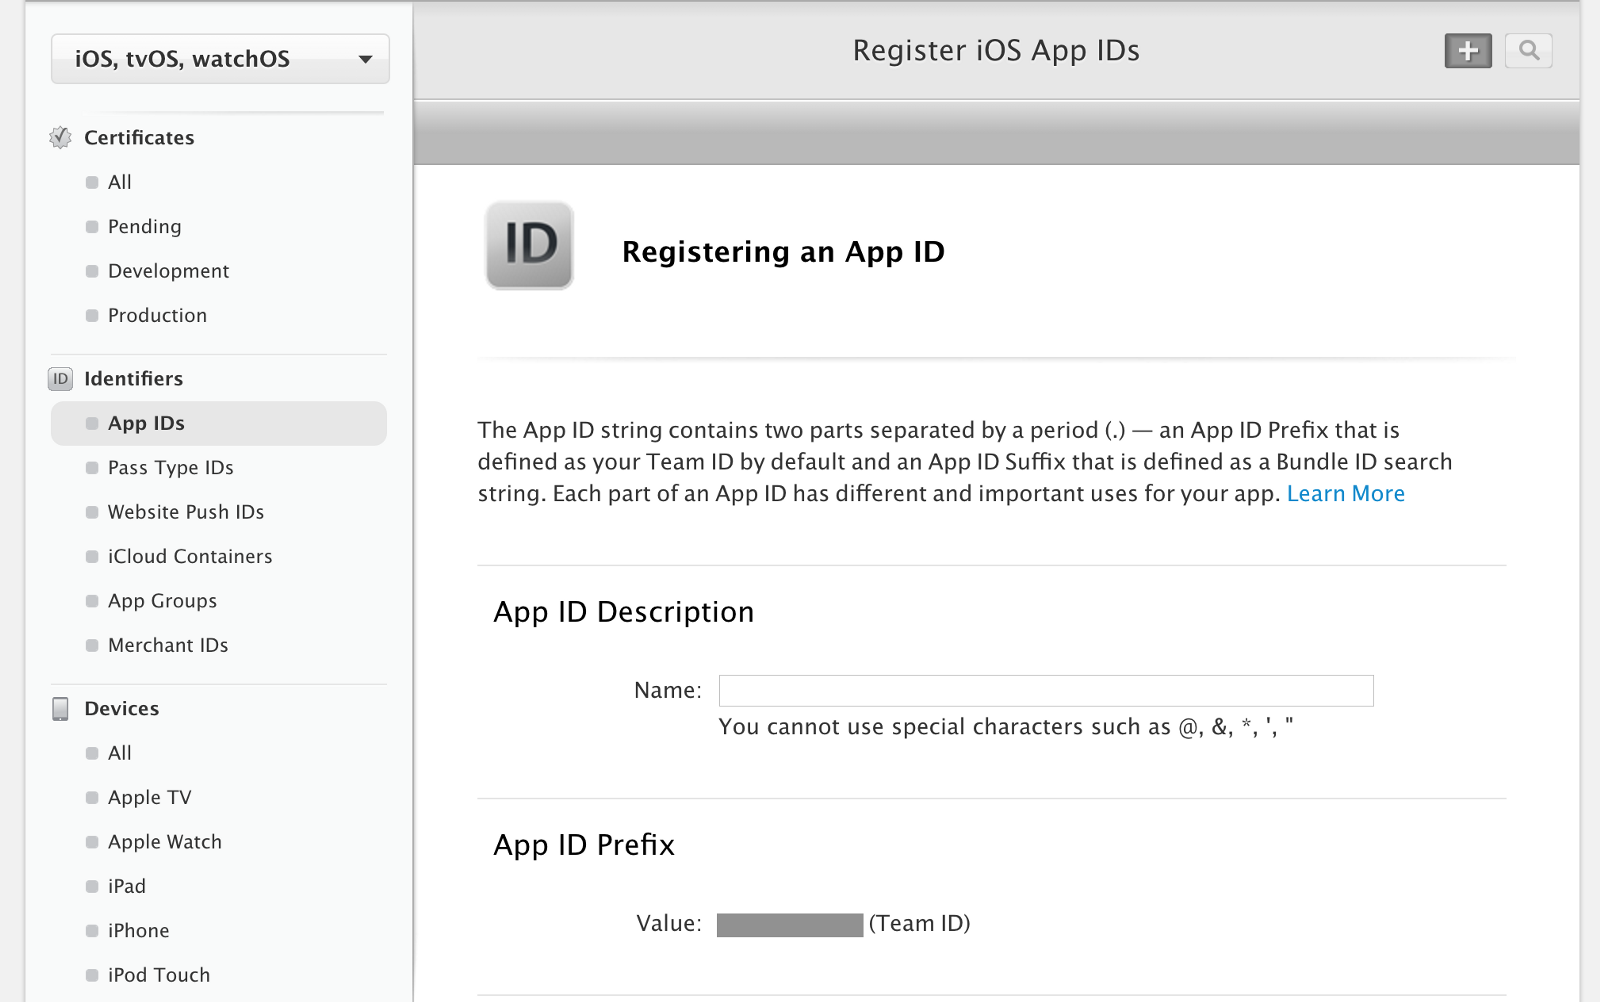
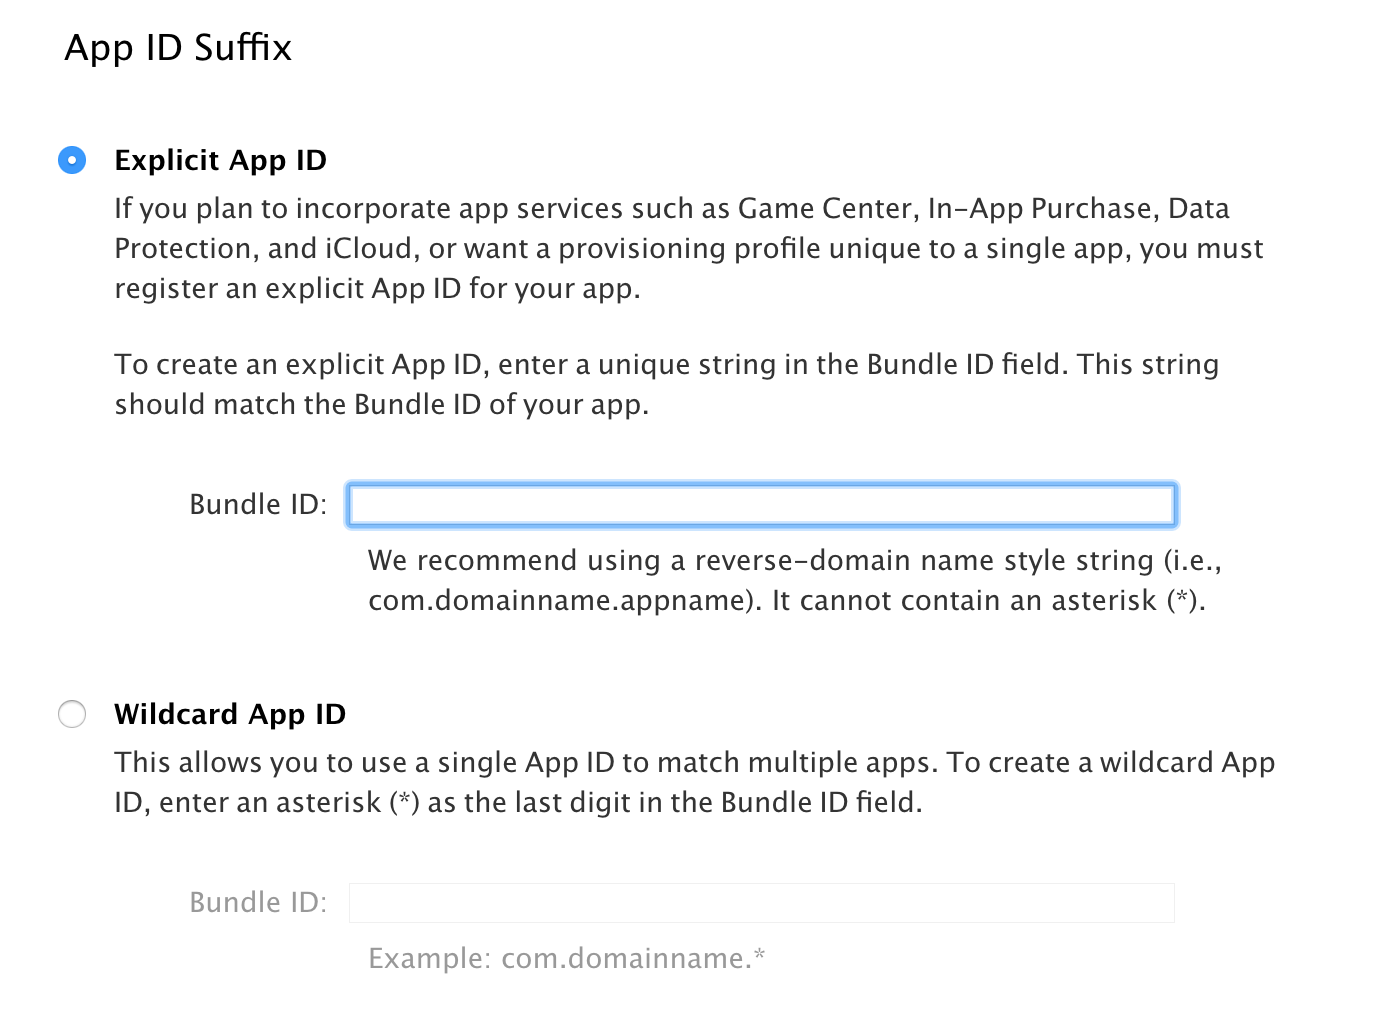
Under App IDs we can see previously created identifiers also we can create new App IDs. Let’s go ahead and create a new App ID by clicking the plus button on the top-right side and it shows a new window to create the new app id. Here we have bunch of mandatory fields to fill, App Id Description (e.g: AppName), App Id Prefix (Apple generated developer team identifier) and App Id Suffix (unique identifier of our application). App Id suffix can be a unique identifier or could be a wildcard app id when we plan to use same services of different apps, depends on the organization and the app, we have to choose one and give an identifier. It is preferred to use the reverse domain pattern to name the application e.g: com.companyname.appname.
Now, we have to select the services that we are offering in our app. Most common service that we use is Apple’s Push Notifications.

Once we select the required services, we are done with creating the app id process but based on the chosen services we may need to do some other configuration steps, one such services (Push Notifications) I will explain how to setup the configurations at the end.
Certificates:
Apple provides the best security in terms of deploying the app through its security scheme. It is very flexible, there are many scenarios where it allows us to deploy the app.
- Securely apps can be distributed through App Store as they are cryptographically signed by Apple’s
- Enterprise or Organizations can distribute their apps securely without publishing it to App Store.
- Developers can deploy development binaries to up to 100 their own devices for testing.
- App developers can run a beta program by directly deploying correctly-signed apps to customers.
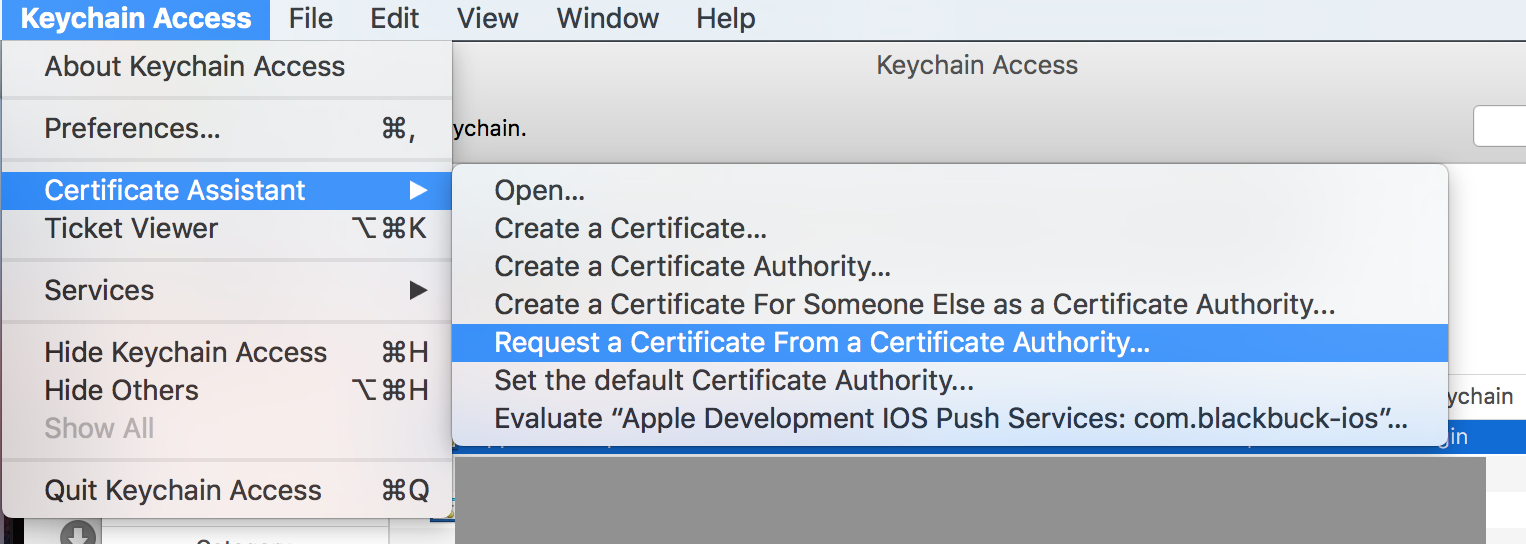
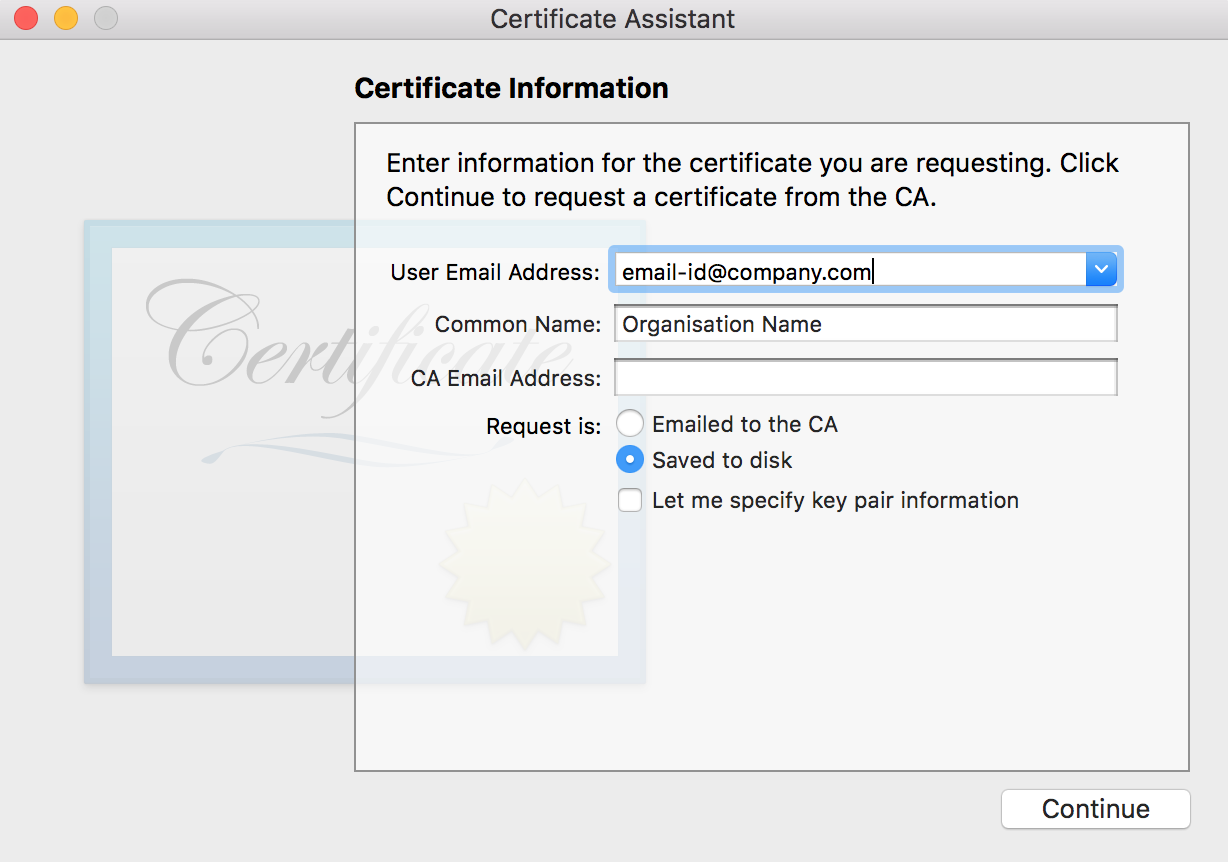
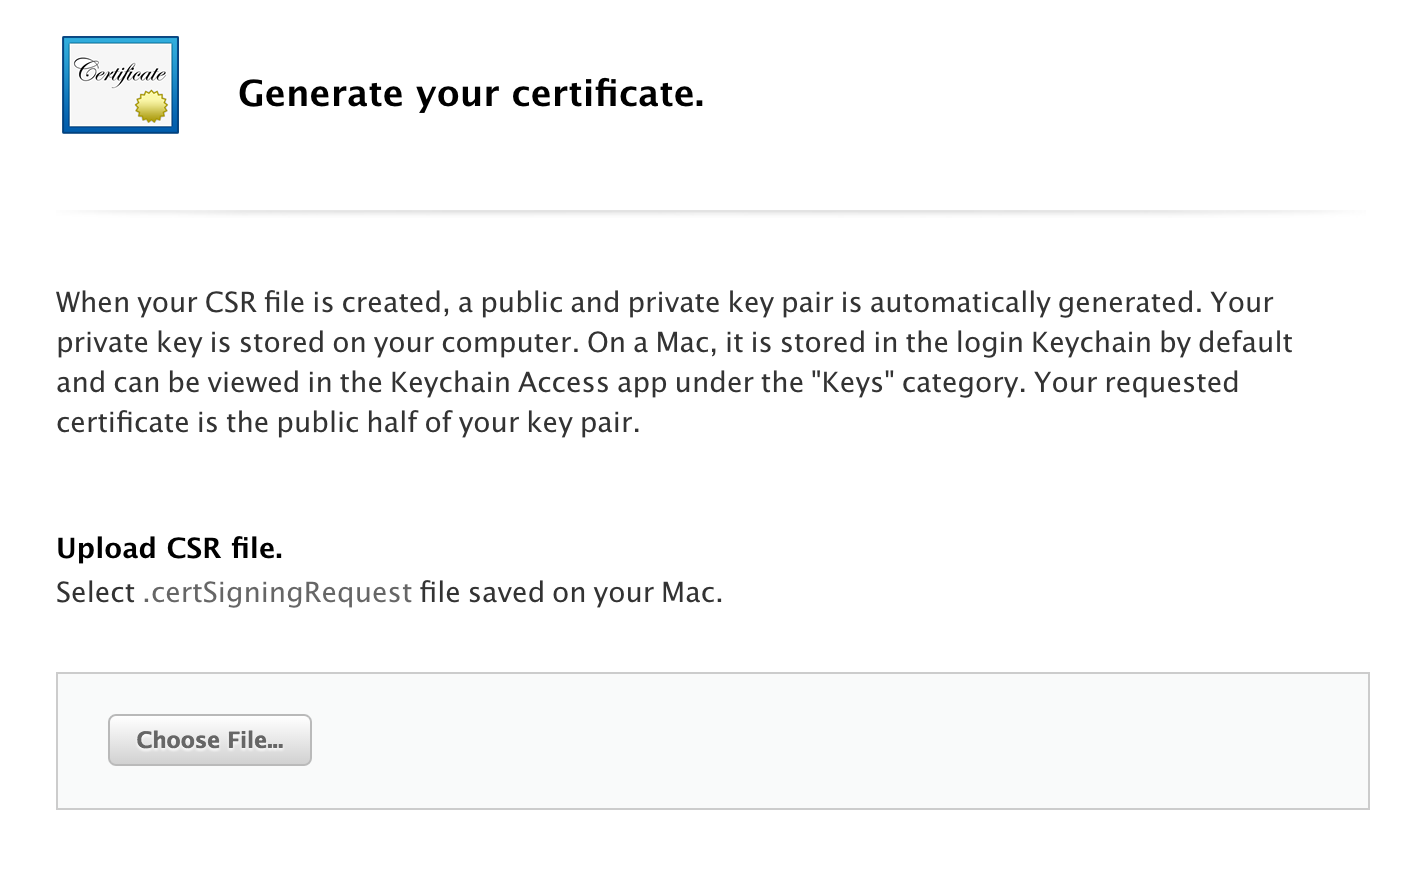
Certificates: It is a cryptographic certificate issued by Apple. There are two different worlds that Apple looks at when it comes to deployment of apps, they are Development and Distribution. We can create certificates for these two cases. When we create a certificate we first have to create the certificate signing request from Mac, to define you as the entity/organization who is requesting Apple to issue a certificate for either development/distribution. For this you have to create the request file through keyChain Access.
Give the organization’s email id and name to create the request file.
Once we are done with creating the file, save it on your disk, and open developer account to create the certificate. Under the certificate section, we can see the list of certificates which are already issued by Apple, and by clicking the plus button on top-right corner we can create new certificate.
We have to select the type of certificate we want to issue, there are two types Development and Production. Development is often used to issue the certificate to deploy the app on developer’s device (to limited devices) for testing, but now apple automated this process. On the other hand, Production is used to issue the certificate to deploy the app on many devices either through App Store/ Ad-Hoc (to distribute internally in enterprises). In case of Production, based on the services and environment, we choose the appropriate option. Once we chose the options, continue to upload the request file to get the signing certificate.

Once we finish creating the certificate, download it on your disk and we can export the Apple signed certificate to other developers in .p12 form in order to avoid the dependency or single point of failure of the private key issued to this entity on this machine.

Provisioning Profile:
Provisioning profile is the most confusing part of this process. It simply clubs the identifier and the certificate to the devices.
Provisioning profile simply says that applications with this Identifier signed with this Certificate’s private key are allowed to run on these devices.
We can create provisioning profile again to two different worlds, development and distribution. Development profile has device limitations where as distribution is often used to deploy it on App Store or to distribute the app internally in the organization.
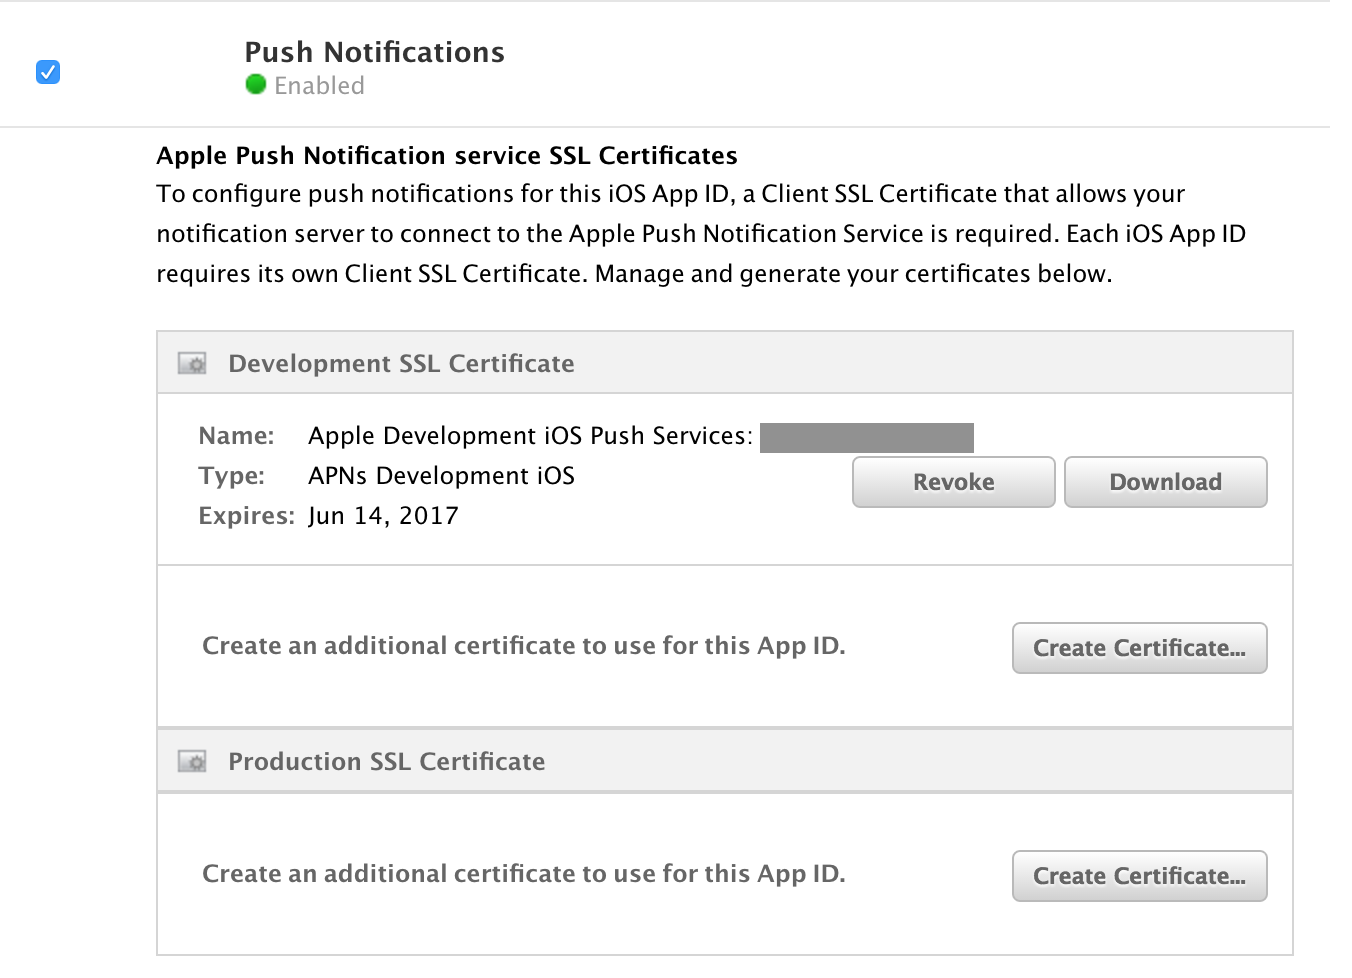
Configuration of Push Notifications: When we create the app identifier, if we have used any services like push notifications we have to configure it to the web servers. In order to setup this we have to create another certificate, as Apple wants to bring another level of security to bind the web server and app. Now that, we have already created the app id, click on edit, under the push notifications we can now see the additional configuration certificates.
Sharing builds through TestFlight
Developers often find it difficult to share the iOS binary file to users/testers. It is not as easy as Android developers share the build by attaching the .apk file as an attachment in the email. Apple won’t allow to deploy the app on the device with its tough security interface. Apple gives a default way of exporting the app in.ipa format file through Ad-Hoc profiles, but that is a tiresome process and the users should connect their devices to iTunes to get the .ipa file. There are many third party apps which makes this process easy by providing an interface to upload the app and give a downloadable link e.g: Fabric/Crashlytics, DIWAI, installrapp etc.
Apple acquired TestFlight an app sharing platform to make this process, on after its acquisition Apple updated its iOS operating system and which made it difficult to other third party apps to provide the platform to share the builds. Now, it is easy to share the build through Apple’s platform and to collect the feedback from the testers and see the crash reports right in the xcode without any hassle.
Let’s create a build and see the process of sharing the app through TestFlight.
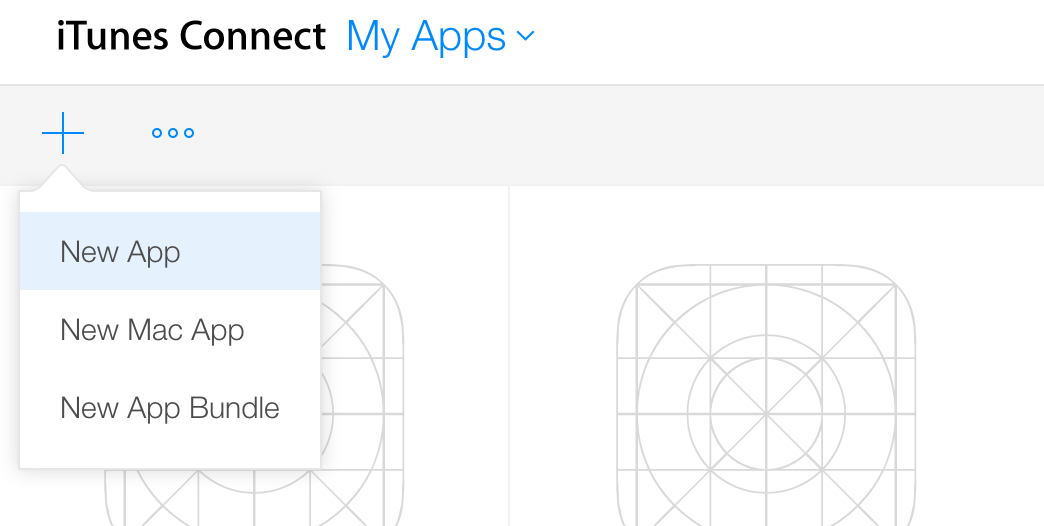
Create a new app in iTunes connect, and give necessary information regarding the app. Archive the code with appropriate code signing certificates and provisioning profiles for the identifier. Once we archive the build, xcode opens the organizer.
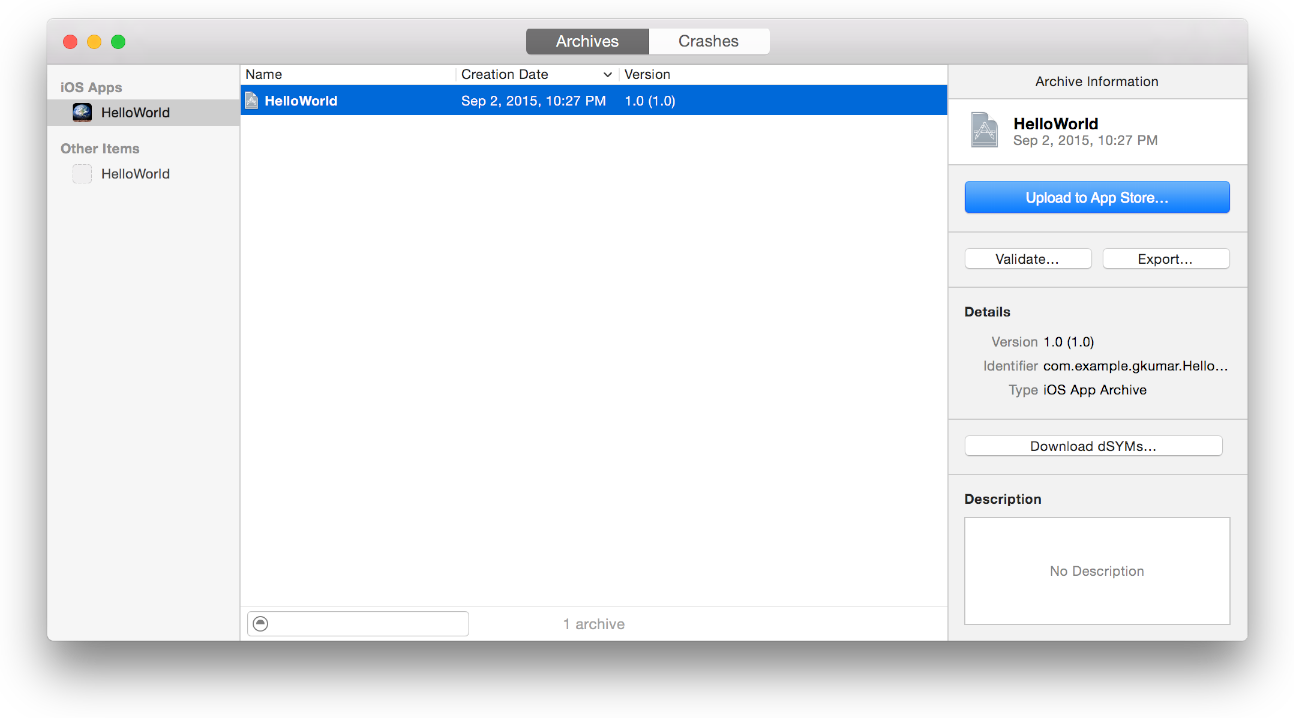
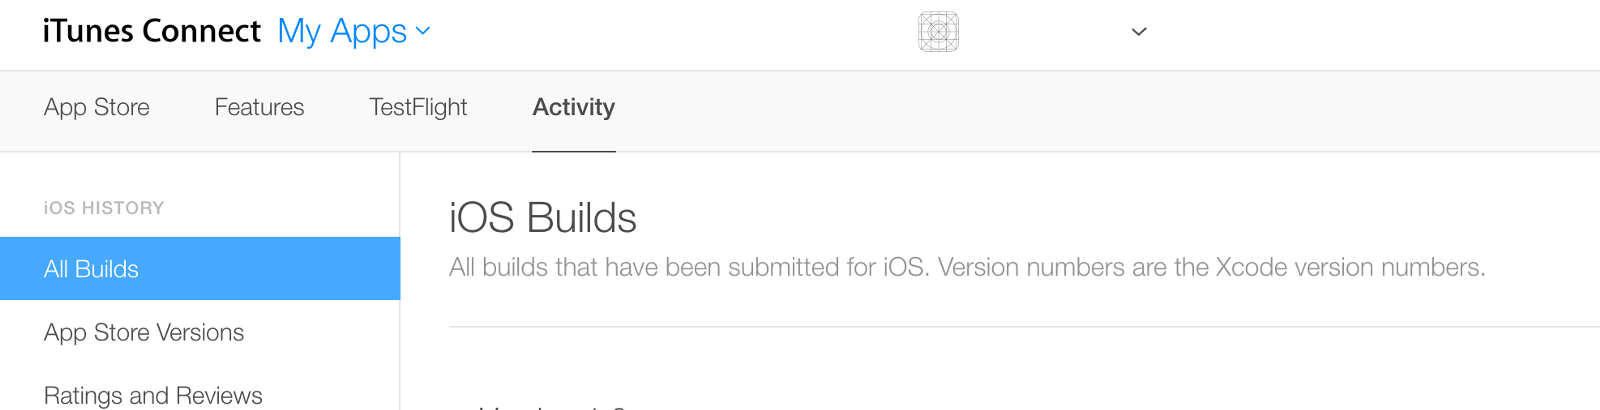
Click on Upload to App Store and it upload the build to the app store. Once it is done, we can see this activity under Activity pane. At first apple does a sanity check on the APIs, assets and other entitlements offered in the app, once it is validated, it can be used to send to either App Store/TestFlight for testing.
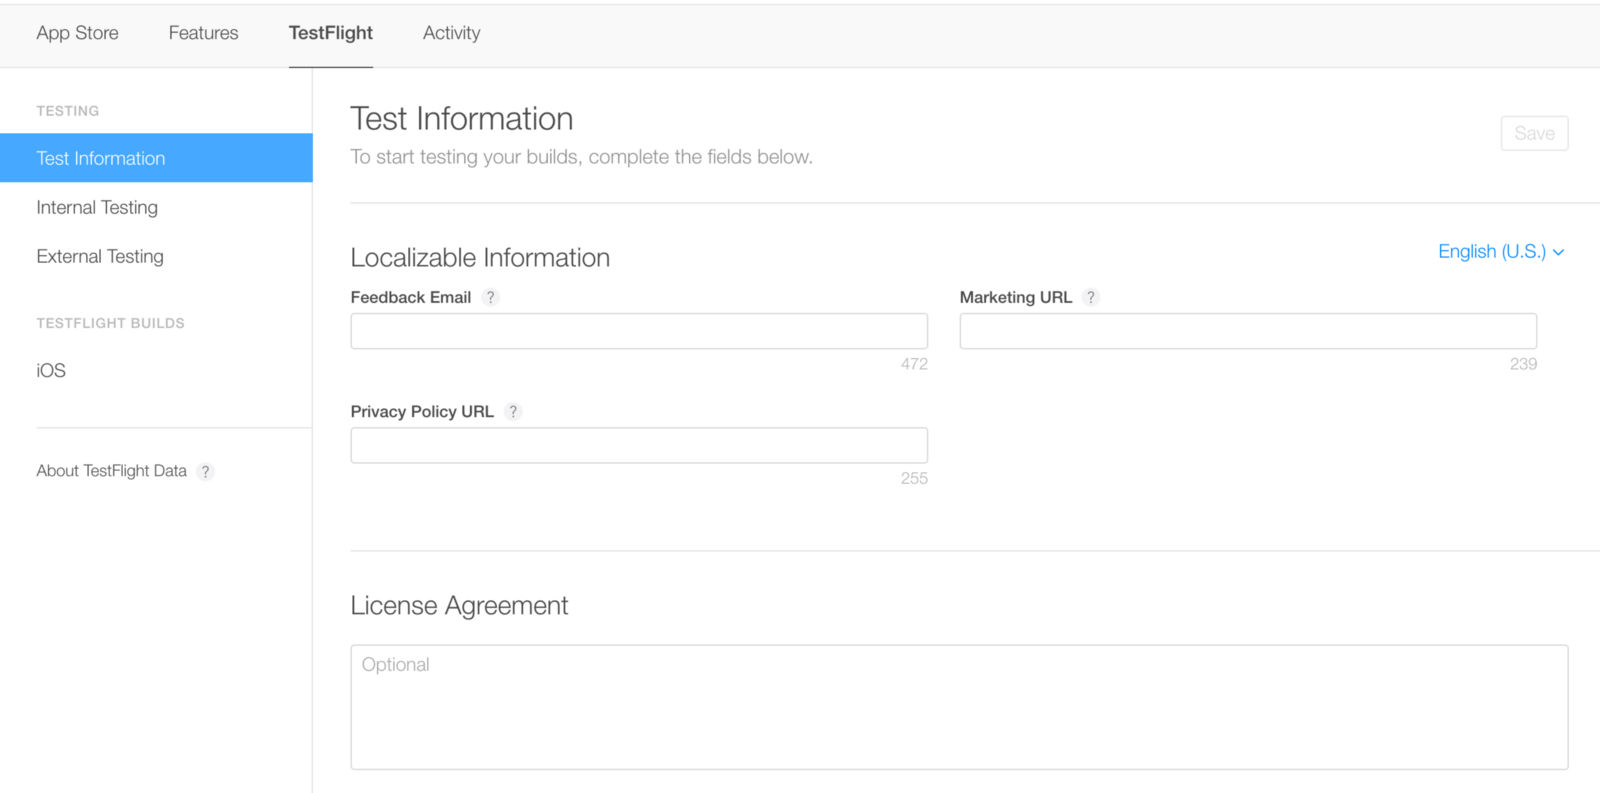
To share the beta build for testing we can upload this build in TestFlight pane, by giving necessary app information.
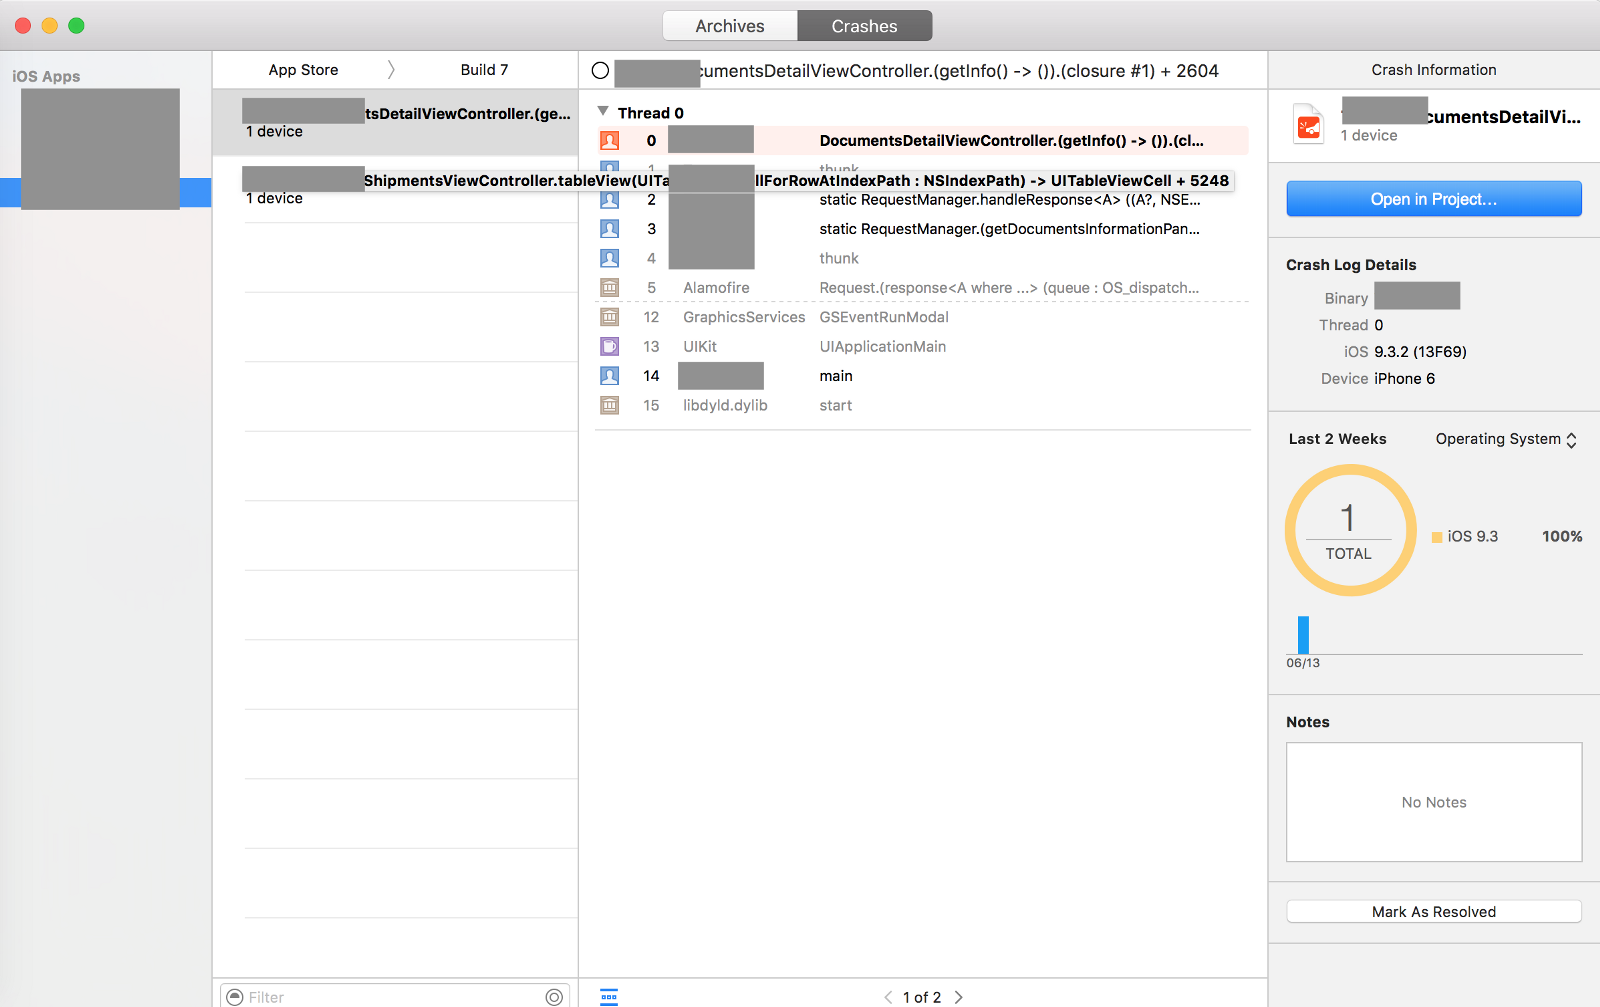
The best part of the TestFlight is it records the sessions, installations and gives crash reports with lot of developer friendly details for debugging the app. We can see these crash reports directly in the xcode Organizer>Crashes.
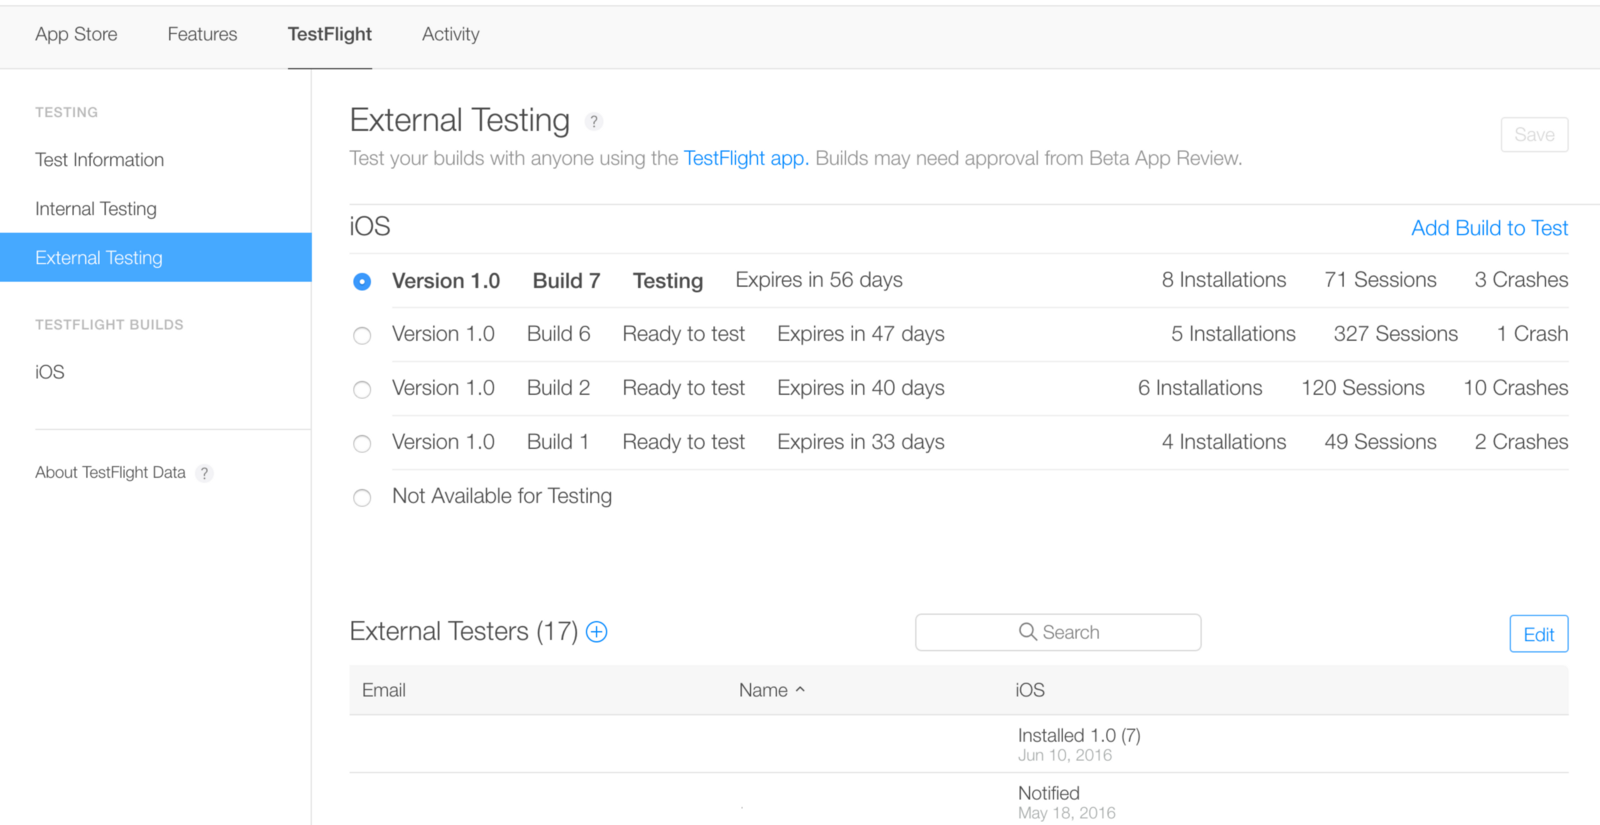
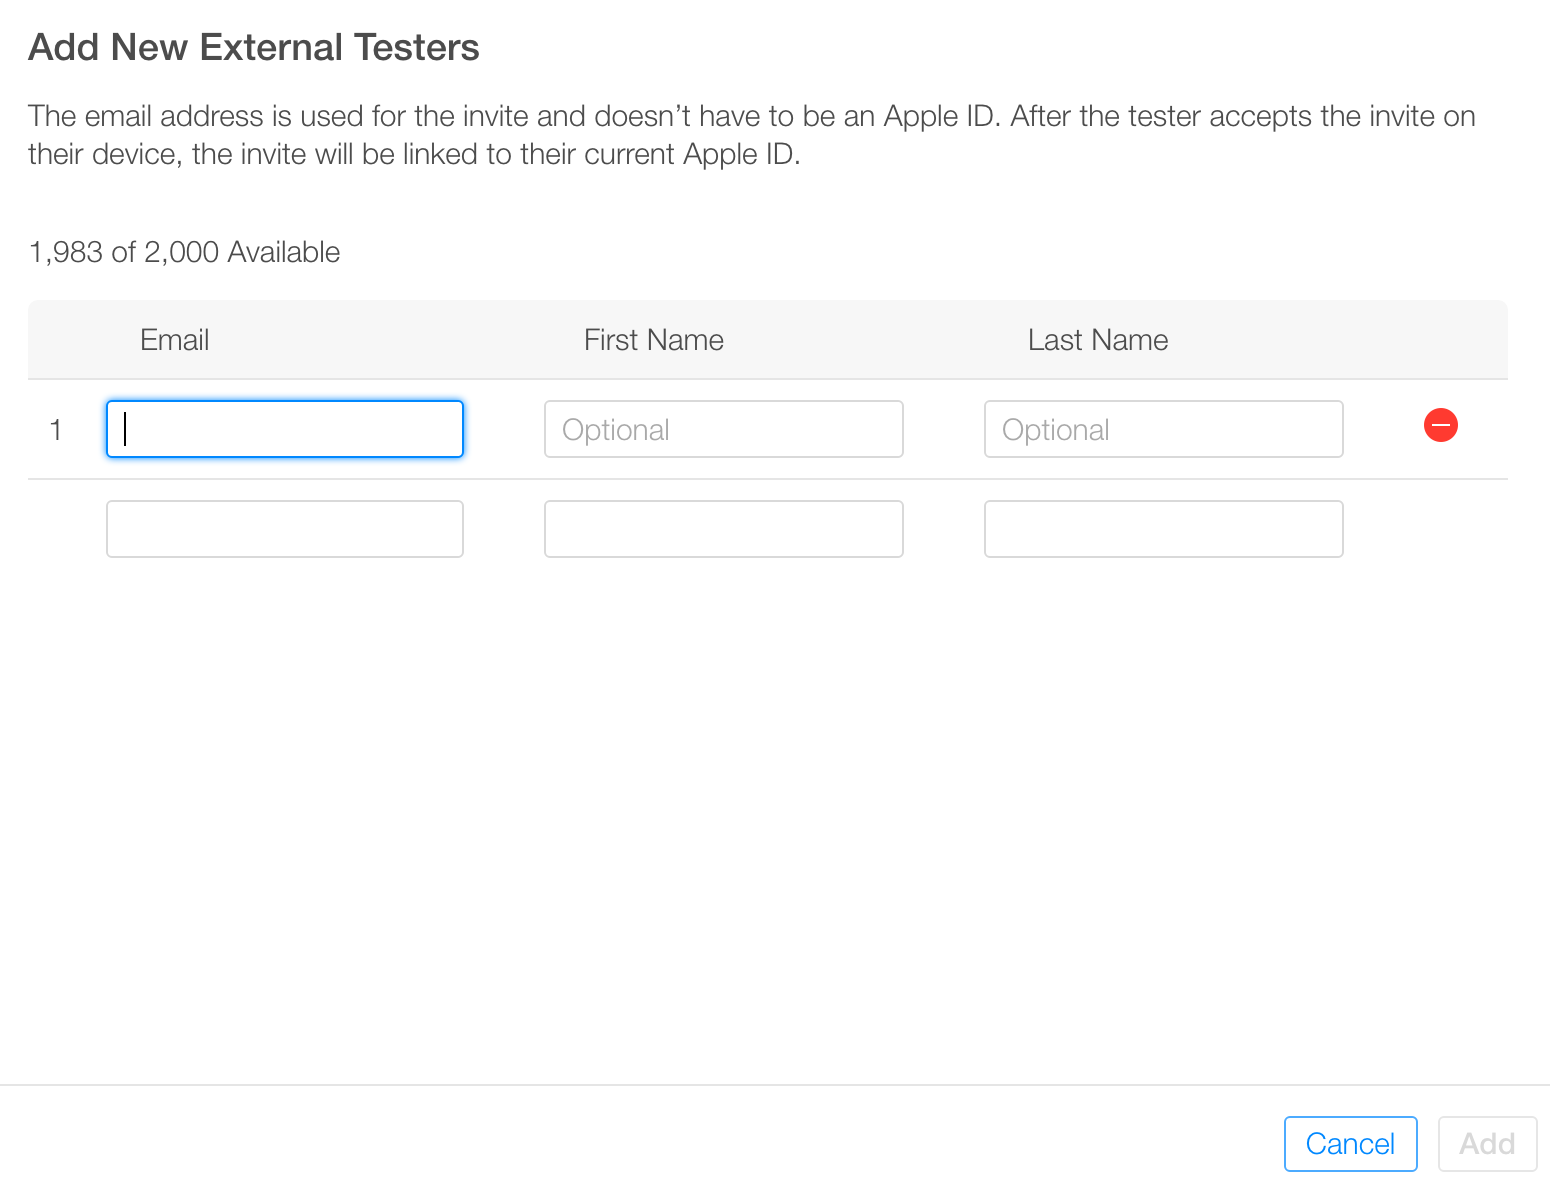
TestFlight categories the testers into two types, internal testers and external testers. Internal testers are the one’s who have developer accounts and wants to test the app, for them we can share the build directly. For external users we have to go for a Apple’s beta testing and then we will be able to share the build through email id, they will be able to install via TestFlight iOS app. We can add up to 2000 external users and 20 internal users for testing.
Each build that we share to external users expires in 60 days, and we can update the build by uploading the new builds.
Crash reports are beautifully shown in the xcode’s organizer, helps the developer to fix them.
Uploading app to App Store
Uploading the app to app store is relatively the easiest task of all. Through out the process Apple does several sanity checks to the build and throws error if the doesn’t comply the development guidelines. Most common errors are the assets alpha channel error, asset size mismatch and sometimes swift library errors. Once all the tests are passed we can submit the app for App Review, for formal approval of the app release, which might take 7–10 working days depending on the complexity of the app/third party app interactions etc. If the app did not met the guidelines they will reject it by stating the errors, there are certain review guidelines that they follow to review the app, make sure you follow them or check before the submission.
We can also expedite the app review process by requesting the apple review team (by writing to them via contact us in iTunes Connect) with appropriate reason. Most of the times they accept the expedite request if the app release is associated with any real-time events like PR event etc.
Apple team is pretty cooperative with the app release process, if you fail to upload the build or if the app gets rejected in the review process. You can contact them for assistance and explain the behavior of the app. If they consider the reasons are valid they will pass the build. But releasing an iOS app is one heck of a process. Developers have to struggle till the app gets approved by the Apple Review team. Thanks for reading till the end. Feel free to share your comments below. Keep reading :).